Today Allison, Team Gurus Ambassador, breaks down each pose involved in a Sun Salutation on Roots, our new cork yoga mat. Allison is a Strala Yoga Guide who trained with Tara stiles in Summer 2015 and teaches yoga at Full Circle Yoga in West Virginia. In her spare time she is a Wayfarer for Wanderlust Festivals in Snowshow, WV as well as an avid plant enthusiast and movie buff. You can follower her on Instagram.
Sun Salutations, or Surya Namaskar, are a great way to add some fire to your yoga practice. The Sanskrit word namaskar stems from the word nama which means "to bow to" or "to adore", which is exactly what you do in a Sun Salutation! You are bowing to, or honoring, the Sun. So whether you are a beginner yogi or a seasoned yogi, Sun Salutations help build strength and flexibility with their continuous flow. Today I'll break down each pose involved in a Sun Salutation, diving a little deeper into the alignment of each pose in an easy to understand way so you can fully enjoy the Salute. Each pose is linked to your breath, so inhales allow you to expand and lengthen and exhales allow you to release and fold. There are many different types of Sun Salutations (Classical Sun Salutations, Sun Salutation A, B, and C as well as its counterpartner, Moon Salutations also known as Chandra Namaskar) but today you will learn my favorite go-to Salute: Sun Salutation A! Let's get started:

Mountain Pose-Find Your Center
Start with your feet about hip distance apart. Engage your quadriceps (your thigh muscles) so your kneecaps lift slightly. Bring your palms together and plug your thumbs right up into your heart. Close your eyes and focus your attention on your heart beat and how it feels against your thumbs. Allow your shoulder to relax down and back so your chest is open and your collar bones are wide as the crown of your head lifts up towards the ceiling. Once you feel nice and cozy here, turn your attention to your breath. Start taking big full inhales and easy exhales in and out of your nose. Stay here for a few breaths allowing your mind to declutter and letting your attention stay focused on your breath.

Upward Salute-Inhale
Slowly open your eyes and take a big inhale, reaching your arms up over head. If this feels pretty good you can start to look up at your fingertips, taking a small backbend by leading with your heart and be conscious of not letting your ribs protrude out. Each inhale is an opportunity to expand, to grow, so let the breath to fill you all the way up. Allow yourself to feel like the superhero you are here! Reach for the sky.

Forward Fold-Exhale
Just like your Upward Salute where you let your breath fill you all the way up, you'll allow each exhale to let you bend. So as you exhale, pull your belly in and up, creating some space as you begin to fold over your legs. Keep a soft bend in your knees and if you're feeling a lot of tightness in the backs your legs where your hamstrings are, you can place a block (or Harry Potter and the Order of the Phoenix, it's about the same size as a block) under your hands for some extra support. Relax your head and neck down towards the floor.

Half Forward Fold-Inhale
Taking a big inhale, allow your breath to lift your torso bringing your hands to your shins or thighs (this part is a personal preference, if your hamstrings are tighter, placing them on your thighs may feel best) and letting your collar bones smile open. By doing this you've created a long, flat back and you can lift your head, looking out in front of you. Keep your gaze soft here.

Plank Pose-Inhale
From your Half Fold, or Half-way Lift as you may hear it in yoga class, slowly exhale taking your hands down to your mat and stepping back one foot at a time (try to remember which foot you sent back first, because you'll do the opposite on your second Sun Sal!) into your Plank Pose, or top of your push-up position. Take a big inhale, pressing your hands down into your mat, pressing away at the floor creating a nice round of your upper back. Keep your core engaged, your legs squeezing towards each other, and your gaze down at your mat.

Four Limb Staff Pose/Chaturanga-Exhale
Exhaling, begin to shift your weight forward slightly, finding a bend in your elbows. Squeeze your elbows in, letting them pull towards your ribs, creating a 90 degree angle with your arms. Your elbows should be in line with your wrists and your shoulders in line with your elbows (be cautious about letting your shoulders drop below your elbows, you may not feel any pain right now, but it can cause a lot of pain in the future!) In Chaturanga, or your low push-up position, everything is squeezing in towards your middle. A strong core will protect your lower back. If Chaturanga is a new pose for you and you are unable to hover off of the floor, that's okay! Modify this by lowering all the way down to your belly instead.

Upward Facing Dog-Inhale
Inhaling, press away at the floor bringing your chest up through the gates of your arms. The tops of your feet pressing down into the mat, lift your heart towards the ceiling, finding expansion across your chest as your shoulder blades move a little closer together.If this feels good, you can let your head drop back for a little extra stretch. If Upward Facing Dog is too much of a stretch on your lower back, or you practiced lowering all the way to your belly instead of Chaturanga, take Cobra Pose here. Cobra is similar to Up Dog, except you let your thighs touch the floor and find a little softness or bend in your elbows. If you're tending to some low back pain, Baby Cobra is a great pose to take by keeping a big bend in your elbows and allowing only your breath to lift your chest off the floor. Keep your gaze down at your mat to protect your neck.

Downward Facing Dog-Exhale
As you exhale, begin to lift your hips up, bringing the bottoms of your feet back to the floor, and find your Down Dog. In Down Dog, you're creating this upside down "V" with your body, so as your lift your Sitting Bones up towards the ceiling and the backs of your thighs away from your body, your chest presses back towards your thighs. Your hands and feet press away from each other. In your hands, focus on pressing into your finger pads and knuckle mounds. Do you remember when you were a kid and you'd try to catch fireflies, and once you did, you held it between your hands in a little cup? That's similar to what you do with your hands in Down Dog. You create this little suction cup effect, protecting your firefly, but in this case you're protecting your wrists! Avoid pressing into the heels of your hands or that fleshy part between your thumb and index finger, as this could cause wrist pain. Hang out here for a few breaths. Your heels will lift here and that's okay! Your heels don't have to touch in Down Dog. If they do, great. If they don't, that's great too. Poses will look different on every body. Just focus on how it feels. If you feel a lot of tightness in the backs of your legs, try putting some bend in your knees. Down Dog isn't supposed to be a Hamstring stretch, it's supposed to help stretch out your back, so just focus on creating a long flat back. If your Hamstrings aren't tight and your heels do touch the floor but you're back isn't flat, put a bend in your knees as well.

Walk Your Feet Up To Your Hands-Exhale
From your Down Dog, take a stroll right up to your hands. Take a lot of steps or take a few steps. Dance your way up, hop your way up, whatever feels good here! This is your practice, so don't forget to do what feels good for your body. :)

Half Forward Bend-Inhale
Take your half-way lift, nice gaze out in front, opening your chest as you lift.

Forward Fold-Exhale
As you exhale, fold forward. Find some softness in your knees, let your head and neck relax.

Upward Salute-Inhale
Rise up as you inhale, reaching your arms up over head, taking a little backbend if that feels nice. Feel grounded through your feet, pressing down into all four corners of each foot (the left and right sides of the balls of your feet and the left and right sides of your heels.)

Mountain Pose with Prayer Hands-Exhale
Exhaling, bring your palms together and plug your thumbs right up into your heart. Notice any changes with your heart beat. Let your eyes gently close and rest here for a few breaths. Let your attention return to your breath.
And that's it! You can practice Sun Salutations any where, any time of day. If you want to add some extra sensations, practice during Sunrise or Sunset.
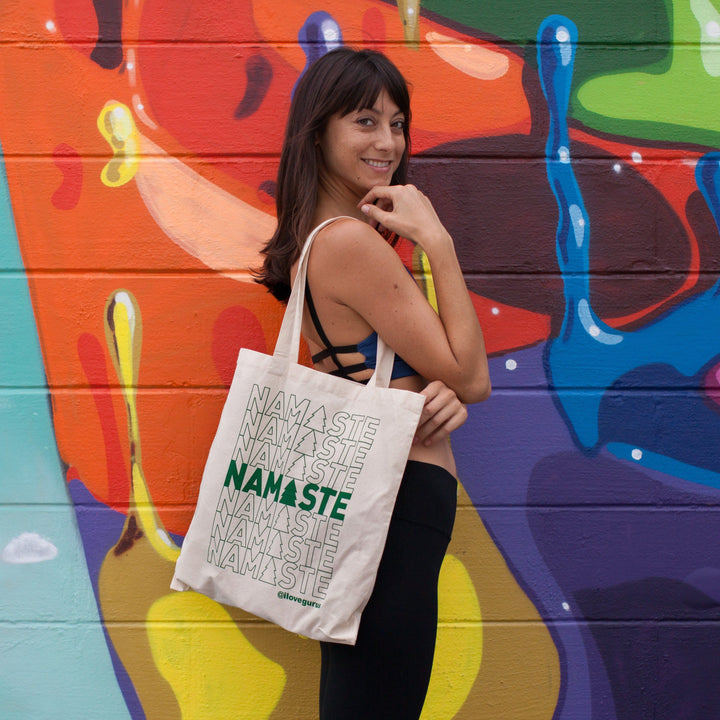
Roots cork mat used in these photos. To pick up your own, preorder at http://www.ilovegurus.com/pages/yoga